How to Attach Solar Panels
to Roof Rack 🚗
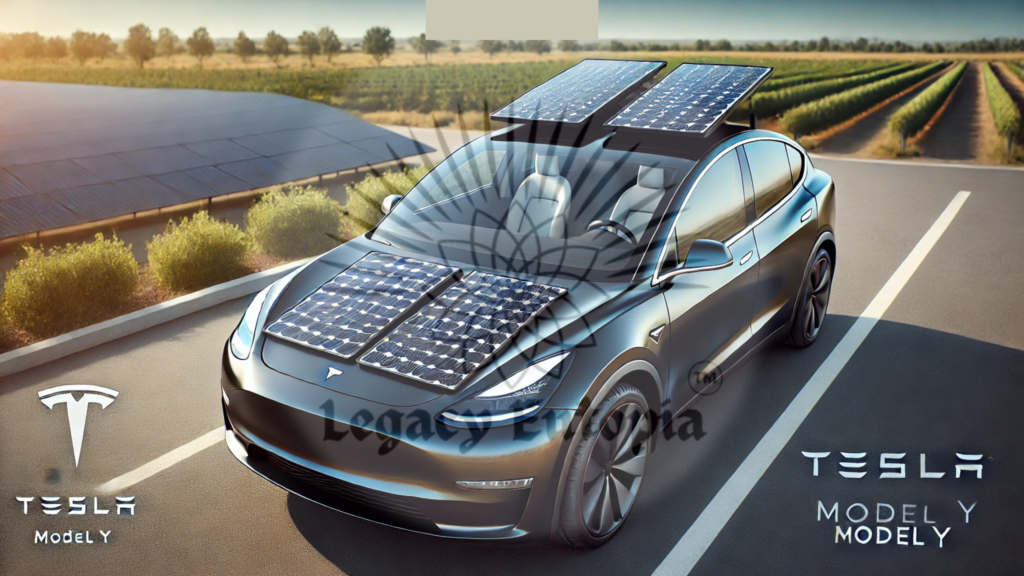
How to Attach Solar Panels to Roof Rack? Attaching solar panels to a vehicle roof rack is a practical way to ensure they are securely mounted while maintaining portability and ease of removal. Here’s a step-by-step guide to do it effectively.

Related Category: Resources and Templates
Attaching Solar Panels to Roof Rack (you are here)
Cheapest Place to Live in America
Use Solar Panels to Charge Your Tesla
Tesla Using a Portable Power Station
Tesla Solar Panel Installation
Tesla Traveling Across the United States
Solar Powering a Vehicle with 800 Watts Peak: Goals, Components, and Setup
Materials Needed
- Mounting Brackets:
- Examples: Z-brackets, L-brackets, or adjustable panel mounts.
- Ensure compatibility with your roof rack and solar panel type.
- Bolts, Nuts, and Washers:
- Stainless steel is preferred to prevent rust.
- Cable Glands:
- Waterproof cable management to route wires safely.
- Adhesive Pads or Foam:
- Optional: To minimize vibration and protect the roof rack or panels.
- Tools:
- Drill, wrench, screwdriver, and measuring tape.
Step-by-Step Instructions
1. Select the Mounting Location
- Determine the Roof Rack Space:
- Measure the dimensions of your roof rack and compare them to your solar panels.
- Ensure no overhang that could interfere with vehicle aerodynamics or visibility.
- Avoid Shaded Areas:
- Position the panels to maximize sun exposure.
2. Prepare the Roof Rack
- Clean the Surface:
- Wipe the roof rack bars to remove dust and debris for a secure fit.
- Inspect for Compatibility:
- Check that the mounting brackets can attach securely to the roof rack crossbars.
3. Install the Mounting Brackets
- Attach to Solar Panels:
- Fix the brackets (e.g., Z-brackets) to the underside of the solar panels using bolts, nuts, and washers.
- Ensure Proper Orientation:
- Adjust the brackets to align the panels flat or at a slight angle, as needed.
4. Mount the Panels to the Roof Rack
- Secure the Brackets to the Roof Rack Bars:
- Use U-bolts, T-slot bolts, or screws to attach the brackets to the crossbars.
- Tighten securely but avoid overtightening to prevent damage.
- Double-Check Stability:
- Wiggle the panels gently to ensure they are securely fastened.
5. Route the Wires
- Use Cable Glands or Clips:
- Route the solar panel wires along the roof rack and down into the vehicle through a window or a cable gland.
- Protect the Cables:
- Use flexible conduit or wire loom to shield cables from abrasion.
6. Connect to the Solar Charge Controller
- Solar Charge Controller Placement:
- Install the charge controller in a safe, ventilated location inside the vehicle.
- Wire Connections:
- Connect the solar panels to the charge controller using the correct polarity.
- Then, connect the charge controller to the battery system.
Optional: Adjustable Panel Angles
- Use tilt brackets or adjustable mounts if you plan to angle the panels for better sun exposure when stationary.
Maintenance Tips
- Inspect Regularly:
- Check the bolts and mounts for looseness or rust.
- Clean the Panels:
- Wipe the panels regularly to remove dirt and debris for optimal performance.
- Monitor Performance:
- Use a solar monitoring system to ensure the panels are working efficiently.
By following these steps, you can securely mount solar panels to your vehicle’s roof rack for efficient energy collection on the go. Let me know if you’d like recommendations for specific brackets or accessories!
Recommended Mounting Brackets
To securely mount solar panels to your vehicle’s roof rack, consider the following recommended mounting brackets and accessories:
BougeRV Solar Panel Crab Mounting Kit (watch their video)
Designed for vehicles with crossbars, this kit allows for the secure attachment of 100 to 200-watt solar panels without the need for drilling. It fits most luggage racks and is ideal for off-grid solar system
Universal Mounting Bracket for Solar Panels – Front Runner
This set of four high-strength steel brackets is suitable for mounting various fixed solar panels. The brackets are powder-coated for durability and include installation hardware.
Roof Rack Mounting Brackets (no drilling) for Fixed Solar Panel Flat Roofs
These brackets facilitate the attachment of solar panels to the roof rack of your vehicle, caravan, or trailer. The included T-bolts are compatible with channels of major brand roof racks. Their low-profile design allows for sufficient airflow under the panels without significantly affecting aerodynamics.
3M VHB Tape
For a low-profile mounting solution, 3M VHB (Very High Bond) tape can be used to adhere flexible solar panels to the vehicle’s roof while providing a slight gap for airflow. This tape offers strong adhesion and can conform to the contours of the roof, ensuring a secure attachment without the need for mechanical fasteners.
Installation Tips:
- Compatibility: Ensure the brackets are compatible with both your roof rack system and the specific solar panels you intend to mount.
- Secure Fastening: Follow the manufacturer’s instructions for proper installation to maintain safety and durability.
- Aerodynamics: Consider the impact on vehicle aerodynamics and fuel efficiency; low-profile brackets can help minimize drag.
By selecting appropriate mounting brackets, you can securely and efficiently install solar panels on your vehicle’s roof rack, enhancing your off-grid power capabilities.
SpiritFairie Whispers on Youtube
